~ THANK YOU~

for sharing all your neat projects, crafty things and garage-sale, yard-sale and flea-market finds.

Pages

Sunday, December 12, 2010

Paper X-mas swirly things


These are by far my favirote handmade ornaments that I have made this year. It is a 3/4 inch by 8 inch piece of paper that I folded in half then curled both sides towards the center... I formed and glued the curls in position, then applied glitter to the face and and added black and silver glitter = so simple, so easy

The best part is that the sheet of Tiffany blue card stock/scrapbook paper cost .25Cents! I always have glue sticks and white craft glue on hand, and the black glitter I bought years ago. So to make 16 of these, I only needed 1 sheet of the card stock! HOW AWESOME IS THAT!!!!

These were super fun to make. I could not find silver card stock in my town. All the ladies at the various scrap-book stores in my town say there is no such thing as silver metallic card stock that is shimmery SILVER ON BOTH SIDES. So I will have to look on the internet for some because next year I want to make these in silver and try out a few more different styles Christmas paper ornaments.

However I may purchase some thick card stock and  PAINT IT SILVER with craft paint, that seems to be a more economical and simple solution. I want a shimmery reflective silver, for next year in this design, so I have some time to figure something out ( lol ).


I am linking this to the DIY Showoff,
using tomato cages and pre lit Christmas garlands for a small tree was genius! I am doing this next year!!!!!!!


Under The Table and Dreaming

and The Shabby Nest ( there is 360 entries on there - check it out! )

and any other linky's I can find later today. I loooovoe those linky's! I could easily spend 3 hours checking out the things people post!

anyhoo- here is a few more photos with the same instruction from my last post ( The snowflakes HERE ). I am very pleased with these! I hope to find a few more easy to make and lightweight Christmas ornaments for my  ALL HAND-MADE Christmas tree 2010


it costs .25cents for 16 of these swirly drop things = yippee!

after cutting the card stock, and curling the tow sides towards the center = 28 pieces

Gluing 2 individual curls together

up on my tree

!!! Award Winning Photo !!!


Wednesday, December 8, 2010

Paper Christmas Tree Ornaments


( I still need to glue a crystal gem into the center of this )


 I spotted this idea on Google images - this is sooooooo easy and so simple and pretty!  I am going to the scrapbook store when it opens to buy more paper!

basically I cut 8 inch strips by 1/ inch strips and folded in half. I rolled up each sides to wards the center using a pen, then I formed the curls into the shape I wanted and used glue gun to affix each curl in place. I then glued each formed piece to each other using glue gun glue.

EDIT: LOL I give terrible instructions, hope the photos explain better than I can

 The last teal snowflake I made, I glued each curled -but not glued- piece to each other, before I glued the curls into place ( make sense.... ) This way I was better able to have uniform segments. But I think that becuase each segments curls are different, it looks more home-made and quaint ( although, it is hard to even see that as each little curled segment is slightly different from each other )


so far I have added this to Whatever goes Wednesday at Someday Crafts


I'll have to hunt around in the evening for other awesome crafty blogs to add this too.

I am soooo grateful for these linky-party things, and am happy to read all the awesome crafty-renovating-decorating blogs out there. There is hours upon hours of awesome stuff to read with fabulous helpful ideas every single day.

Thank you to every single person who shares their awesome ideas on the interwebz!


So; from a 12' x 12' piece of scrapbook paper I cut out 1/2 inches by 8 inch pieces. From this i made 5 snowflakes.  I am trying to make 5 of each unique hand-made Christmas ornaments.


on the left = glitter, on the right no glitter, yet = I ran out of regular white glue

Here is the second one I made with my practice card-stock...... I think 6 segments looks best and is smaller and cuter

fold paper in half, curl towards center rolling with a pen or dowel.....

shape and glue

here is one glued together
 another angle
 and on the tree

 left is a larger snowflake made with 8 segments, and the 6 segments on the right

8 segments


THIS IS WHAT i AM MAKING TONIGHT! Although I think the snowflakes are pretty, these are waaaaaaaaaay more appealing to me and I am picking up some silver card stock and whipping up a few of these tonight. This is just 2 of the same segments I made above, using 8" by 1/2' inches and gluing them together.

some experiments..........


I am in loooove with these.... its just paper and glitter.....


same technique...... I am in love with the red/black glitter and am majking htese with silver paper and black glitter tonight!

here is another paper ornament floating around on the interwebz...... I will have to find the link to the blog where I firts saw this. it looks complicated but is very easy. I wnat to make a few smaller ( 5") white ones for my tree.
 I used thick scrapbook paper and marked off the center lines


whoops - Here is the link tot he lady who made these below at House Revival's Blog


 here is a few more I made with different dimensions/designs.  It is hard to figure out what size to cut when I have no instructions. When I finish making these I will post better instructions


Saturday, December 4, 2010

2010 handmade x-mas ornaments


w/o the crystal in the center

Here are 3 pretty and inexpensive ornaments that were quick and easy to create. My goal this year is to create a few easy and inexpensive Christmas ornaments. I switched up my colour scheme to colours that I am NOT comfortable with = icy blues and taupe/natural shades.

I am traditional Christmas colour scheme kinda gal, so this is a huge stretch for me. I already have a profane amount of red, gold silver and other traditional X-mas decor items and I didn't want to run out and buy a bunch of stuff so I started to whip up some things in the last 2 weeks.

first up - Silver Glitter Wooden Beads!


 I started with this bag of random wooden beads that I found at my local thrift store in summer time..... it had been sitting at the shop for a few months and I knew I wanted to make something like the above for my X-mas tree.


I hot glue gun glued the beads in similar patterns onto flexible but sturdy garden wire that i purchased at the Dollar-Rama (Canada), making sure to leave enough wire to form a small loop for the hanger. I also added a small closed loop at the bottom to possibly hang some crystals from.

I painted the assembled ornament with a coat of silver craft paint using a foam brush. ( I waited for that to dry overnight because I got lazy and did not feel like being covered in glitter at that moment)

Oh BBQ skewers is there anything you cant do? I slipped BBQ skewers into the hanger loop and 'squished' it so that the ornaments would remain snugly on the wooden skewer as I liberally applied white craft glue and sprinkled glitter over these ornaments.

I used 2 kinds of glitter.... silver flakes and fine silver glitter. My goal was not to cover every single surface of these with glitter, but to have some sparse areas of the silver craft paint showing through...  so that maybe these ornaments were with me for many Christmas's.


 I stuck the drying ornaments into an old flower foam base that I had laying around.  It took about 20 minutes for the glue to dry and I hung them up on my tree right away. ( with regular wire hangers....)


below is one of the larger ones all glittered up and hung on my tree.


and here is one of the smaller ones next to my rag fabric ornamen
Link Here

Fabric Land in my town had a tonne of ribbon on clearance for .13 cents a meter..... so I bought alot! Here is a tassel I made using that ribbon. I used a wooden candle cups that can be found in a bag of 20-ish at Micheal's Craft Stores, I painted them a light blue with craft paint.  I just snipped a bunch of ribbons into strips and glued then to the inside of the candle thingy to make the 'tassel' and then added some fringe fabric trim ( that was also on sale for .50 cents a meter).

I used another piece of ribbon to create the hanger. I only made 3 of these as I only had 3 wooden taper candle holder things. I will whip up a few more when I pick up more of those wooden taper candle things....


these things are called wooden candle cups and are found at Micheal's Crafts


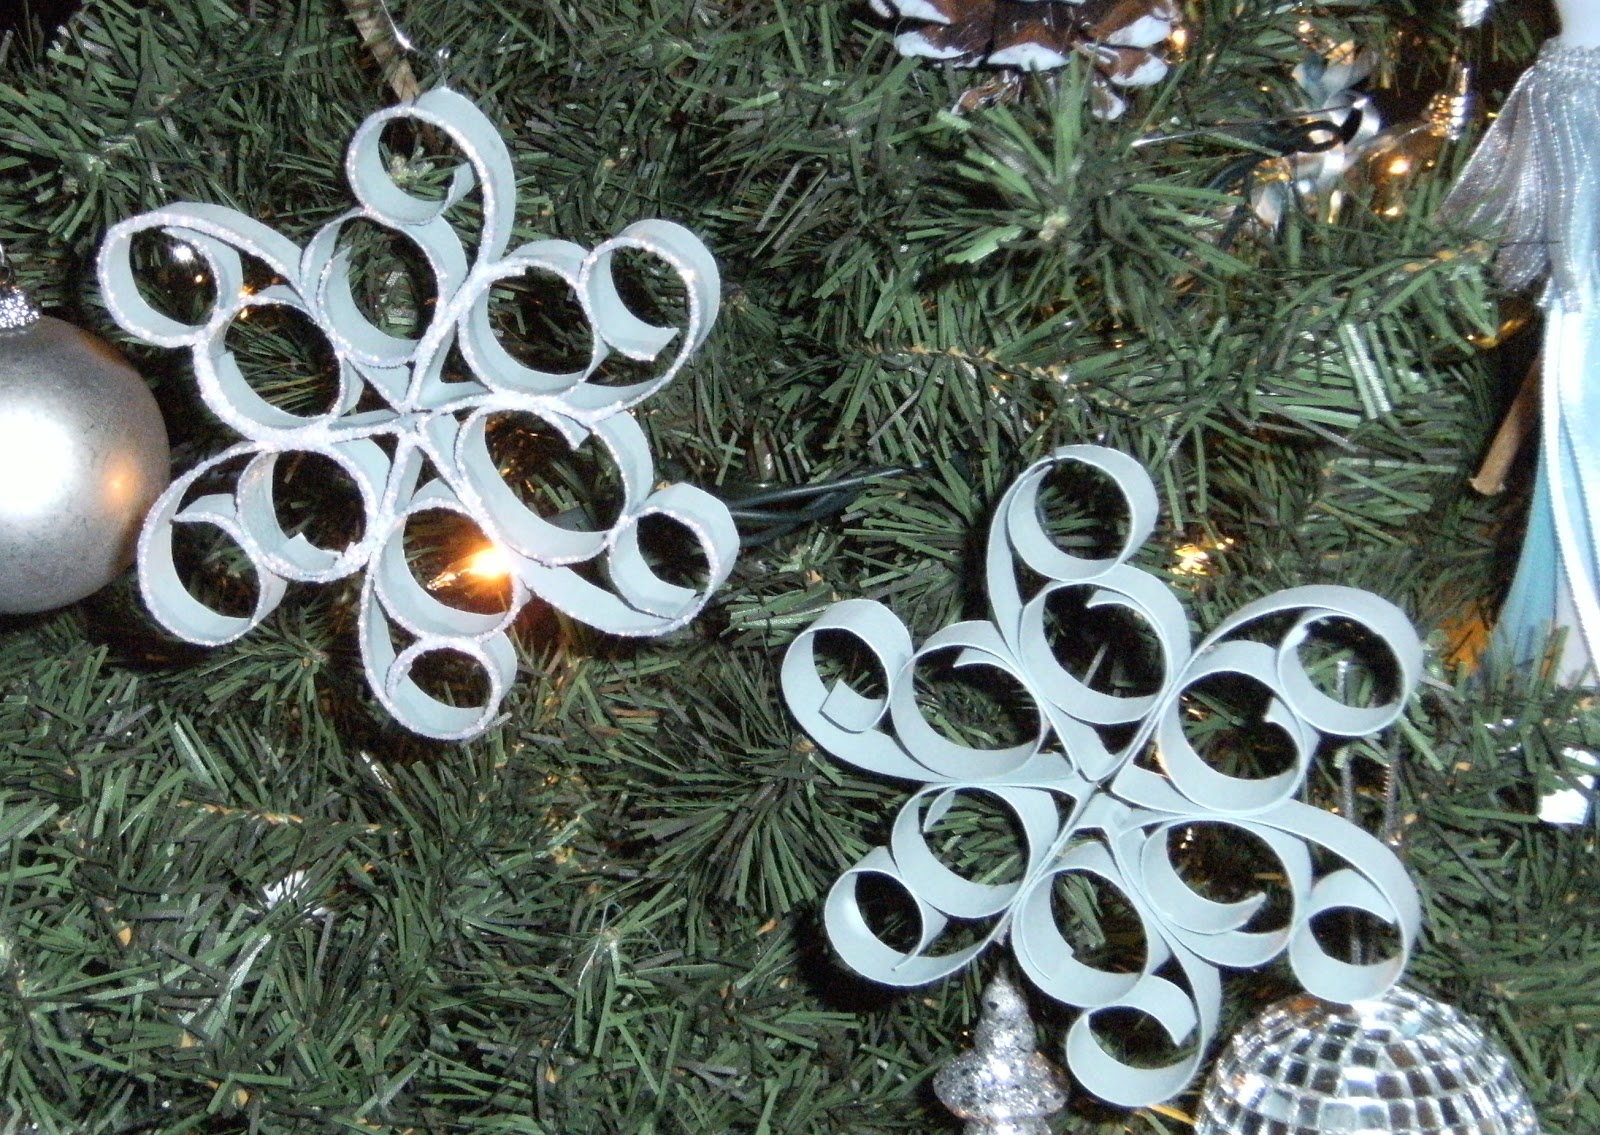
Finally my favirote of the bunch ( so far ) is this ribbon flower I made using .. ribbon. I simply looped the ribbon and glued it together to form a petal, then glued that to HALF of a Styrofoam ball.  this was super- duper easy but time consuming. I popped a movie on and finished 6 of these in 1 hour. I took my sweet, sweet time -  I am already looking forward to making many more of these, with ribbon and next with paper for my tree next year ( with a totally different colour scheme).

When I make more I will add a much better tutorial. But basically I cut a 2" foam ball in half, and then snipped ribbons into 3 different sizes. 2', 3' and 4' I believe. These are lightweight, likely wont get squished when packed away and are sooooooo dainty and pretty!


I found these huge round crystals at Fabric Land in my town ..... they were on clearance for 50 cents for a package of 12.... and regularly $4.49 cad.... when I tried to take photos of these with the crystal glued on it totally ruined the photo... Ill have to take one outside to take a better pic.


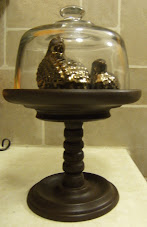
and my birds I made in summer-time. I did not add any sequins or other embellishments to these as I think thy are lovely with just the crystal and silver glitter. Here is the post on those♥