~ THANK YOU~

for sharing all your neat projects, crafty things and garage-sale, yard-sale and flea-market finds.

Pages

Thursday, October 14, 2010

Halloween Bones


Long before normal people are getting their Halloween decor ready... I was making these fake bones. I started these in August and just finished them up in the first week of September!

While there is an ample supply of fake bones in stores I really wanted to have some silver ones, and  I think i did a great job. Alot of the fake bones I have spotted are made of foam, which will fall apart and I will be sweeping the little bits of foam in my home for months and months. Also I really wanted silver ones.

So how did I do it / please keep reading♥ I also made those black wicker-looking decor balls out of raffifia from the Dollar-Rama, they were surprisingly easy to make and have held up extremely well. it was difficult to find small black vase filler like this in my town = so I made my own. And like most of the projects I do - I often forget to take during photos; Sorry!

This entire pile of bones weighs barely anything, which will be awesome for storage. I used BBQ skewers, small foam craft balls, and news paper and for the final covering some old pieces of clothing pattern paper, which is my new favirote paper for crafts and paper mache. 


I added this link to;
Someday Crafts and TaterTots and Jello and Sawdust and Paper-scraps ( Fabulous blog sorry for forgetting to 'link' you


I made 2 different sizes of bones

a pile of silver bones


I used 12' BBQ skewers, or shish-kabob's = whatever they are called and using hot glue gun glue I stuck the ends into the smallest foam craft balls I could find.

I glued the two skewers together in the center and began adding more skewer, cutting them if necessary.

I kept adding the small pieces of skewers to build up the bone.


It became very sturdy, It took approximately 2 hours to make 6 of these from start to finish 

I snipped off the protruding ends of the skewers,  the circular shape of the foam balls is what makes these somewhat realistic.

I wrapped the frame of the bones with news paper, using hot glue to secure it to the frames, then used plain white glue to adhere strips of pattern paper to the bone. When it was dry, I applied 2 coats of Deco Art craft paint in silver. I then dry brushed on a coat of a brown craft paint, getting it into all the nooks and crannies left by the pattern paper. Make Sense?

TOP - 2 coats of silver & dry brushing with the brown
Below - 2 coats of Silver

 i picked these up at the Dollar-Rama I painted them silver with a foam craft brush.

 I used Deco Art Craft paint in silver - this can also be found at the Dollar-Rama


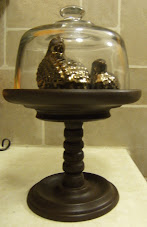
I found that vase at Winners ( T.J.Max ) for 10 bucks a few years ago.


I made the stick flower thing too, and most of those flowers came from the dollar stores here in my town. HERE is the post on those.


I added some silver glitter X-mas Balls, along with some disco balls, bones, skulls and the black wicker-looking vase filler balls.


here is a close up of the black wicker looking vase filler balls.


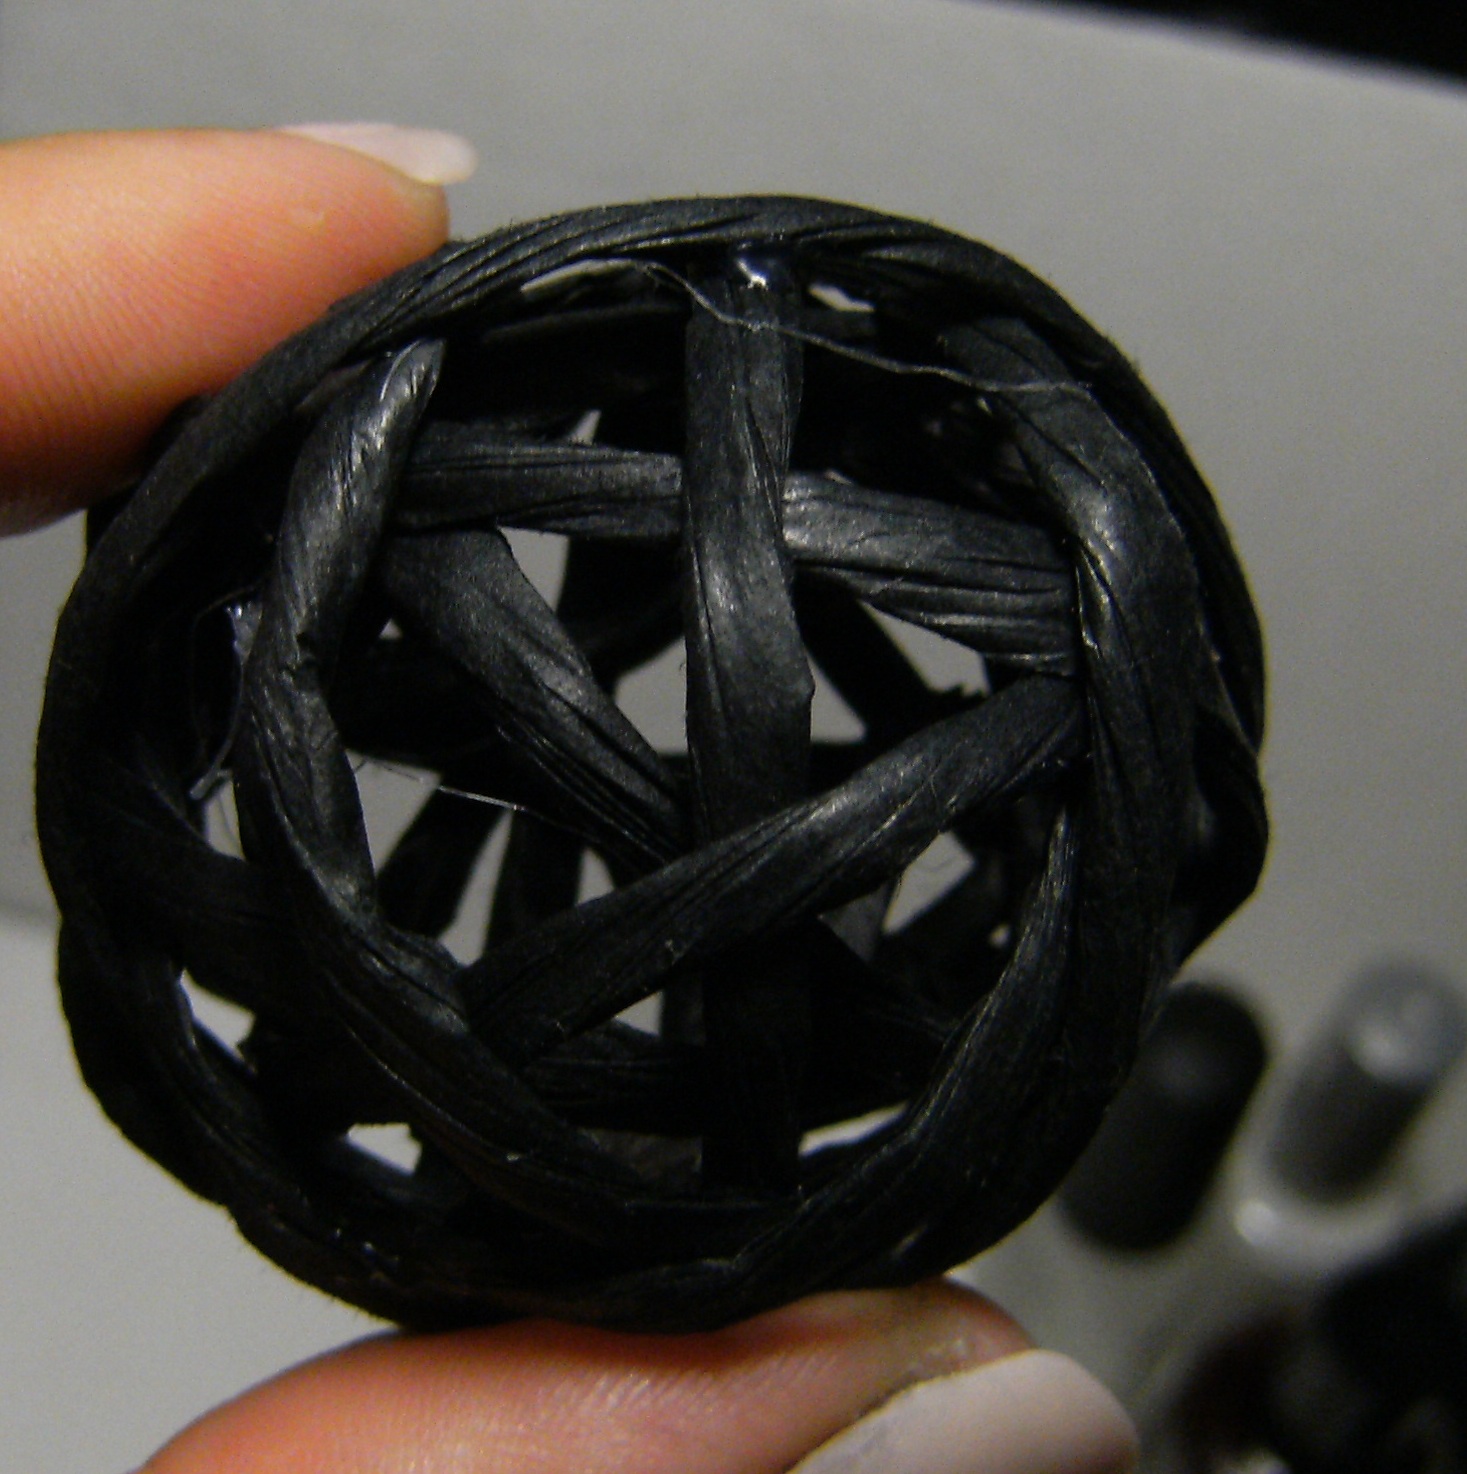
 I believe this is still available at the Dollar-Rama,

 my skulls.


Fall 2010 Flowers


Here are 3 cute floral arrangements I made for fall. These are lightweight and compact and will be easy to store off season.

I have seen several types of twig vases in decor stores, grocery and department stores. They are super easy to make! I used a sturdy cardboard tube cut to the height I wanted, then slid the twigs in between a rubber band and the tube, gluing in random spots. I made sure to paint the tube ( the second time! ) and painted the twigs after they were assembled.

I cut a foam ball in half and applied newsprint around it using paper mache paste, to ensure that if the foam ball breaks apart, there wont be bits of foam all over the place. This also helps to keep the flowers secure as I did not glue these in place, I just stuck them in the 1/2 foam ball.

It was somewhat difficult to attach the foam to the 'vase', I used alot of hot glue gun glue!

All of the flowers came form local dollar stores. The fall leaves came from Walmart a few years ago... I think they are still available and are .93 cents for a small bush. The pine cones, of course, came from my mom. I hot glued the pine-cones to skewers and stuck them in the arrangement.

 I added a small piece of ribbon around the twigs to hide any glue and to cover the rubber band I used to hold the twigs in place.


not-sure why the one on the left looks so lopsided in this photo.....


 ....a happy family

I really needed something tall in this area, but I could not find something SLIM and TALL... so I made my own. I used a sturdy cardboard tube from wrapping paper and surrounded it with thin wispy twigs. I slipped an elastic around the cardboard tube to temporarily hold the twigs, spacing them evenly and adding a small amount of hot glue gun glue in areas. I painted those twigs with a dark brown satin paint and covered the elastic and glue-ey area with a small piece of copper ribbon.

I would like to add something else on top of the ribbon, but I am not sure what..... some plaid ribbon in fall colors perhaps?

ALSO; paint the cardboard tube the same color as the sticks before you begin gluing them on. I made this mistake and had to start over♥


Below; Back View

I cut out a square of foam and used regular white glue to adhere some grey tissue paper around the foam.... I added a quick coat of paint to this as well. ( I have removed some flowers to get a photo of the foam.....)

Here is a close up of the base of the twig 'vase'

I cut a foam ball in half and used this for my smaller flower arrangements. I used paper mache to cover the foam, and painted it with a paint I had on hand; a dark grey-ish brown.


 I found these vines at the Dollar-Rama, I used the 'berries' for a few other floral arrangements in my home, and removed some single leaves to add to my fall-time floral's.


  I have my moments - where I am a master of bargain shopping. Sometimes I wonder about fabric land..... they seem to be a pricey for  the quality of their products..... I found these ribbons for .5 cents a meter... so of course I bought the whole spools..... I used the copper one on the far left to disguise the elastic and glue that I used to hold my twig 'vase' together.


It pays to pop into fabric land every once and while, they seem to really reduce the price on seasonal items, which is nice.


$1.43 for all that ribbon!!!!!


and here are the things I glues to the base of my twig 'vases'

They are from the scrapbook section of my favirote dollar store in my town. I painted them black and glued them onto the base of my twig vases, to provide a bit more stability and to prevent scratches to surfaces.....


Knife Block Redo


I will never ever again buy anyhting from Faberware.... EVER.

Not because of the Knife Block - but becuase these knives SUCK! I had a few older Faberware knives that were olllllld  as well as some older but awesome knives from other brands - and I refused to part with them. But I thought it was time to move forward and pick up a new knife block. i really do wish I kept my old knifes even though I bought this.


I have had that metal scraper thing 4-evr! I have bought a few new ones and they are not as good as this one.


 And here it is with 2 coats of Black paint. I used a basic black intereier latex paint.....  I still have to get in a do a few touch-ups where the knife holes are. I honestly did not want to put that silver FaberWare metal name plate back on.


 .... a side view.

 This was a really nice paper towel holder that I didnt want to part with, so I painted it black, too. It turned out great. I sanded lightly and gave this three thin coats of the same black interior latex paint.I made sure to give it lots of time to dry.... I think 3 days or so. I sanded lightly and gave this three thinn coats of the same black interior latex paint.


 I removed these things.... whatever they are called
 These little plastic 'feet' did not get put back on.


It turned out perfectly!


Cloche


 I love making stuff ~ I whipped up this cloche a few months ago. I used a (pitiful) candle holder, a souvenir plate from Costa Rica, and a glass dome = all found at thrift stores in my town.All the items I bought at the thrift store came to $1.40. The paint, Caulk, and glue-gun I had on hand ( or course! )

I searched for months and months to find a complete 'Cheese Dome' at the thrift stores, and I could not find one anywhere. I did spot several of these 'domes' ranging in price form .50 cents to $3.00.

I felt that some of the items I fund that I could turn into a cloche, would not be a safe base to support the somewhat heavy glass dome. So I had to improvise. I think this turned out really cute.  Those two copper birds I also found at a thrift store in my town for .50 cents each♥


stuff I used

 First, I traced where the candle holder would meet up with the plate lightly with a pencil, I applied DAP paint-able caulk along this line.

 I had to glue gun pieces of cardboard to bulk up this area..... There would be nothing to glue the candle base to the plate. I was not happy to use these bits of cardboard, but I could not rangle up anything else... this was one of those 'midnight crafts'.

Here I have removed piece where a candle would sit, and glue it to the small pieces of cardboard.


 Then I glued the 'stem' back into the candle base

I smoothed out the paint-able Caulk, and let it dry.


I painted the whole piece with Deco Art Craft paint from the Dollar-Rama and gave it 2 coats of Alene's water based varnish in a satin finish. It is a dark brown color that I made with Burnt Umber and Black. However I think it would be better if it was a much darker shade.


.... CAULK = there is no gap between the origional candle holder and the plate ....


..... mac tac love!

 Since I end up with a few of these every month, and I really do not believe they are recyclable in my region, I am cleaning them out ( easy-to-do) and covering them with black chalk-bard contact paper from the Dollar-Rama.

 I already have quite a few of these covered in black contact paper and they are making great storage containers...... I must have gone through 3 different types of rubber-maid storage containers for all my crafts. I don't think I will be using chalk to label these, but hope to find some other method of denoting what is in these containers.

I used a black permanent marker to trace the rims of these coffee mate  tins and other objects

 measure twice cut once!


 45 cm x 80 cm for $1.00 ( covers two tins this size )


I'm probably on my 12th roll by now = I love this stuff and have used it to cover a few different things